
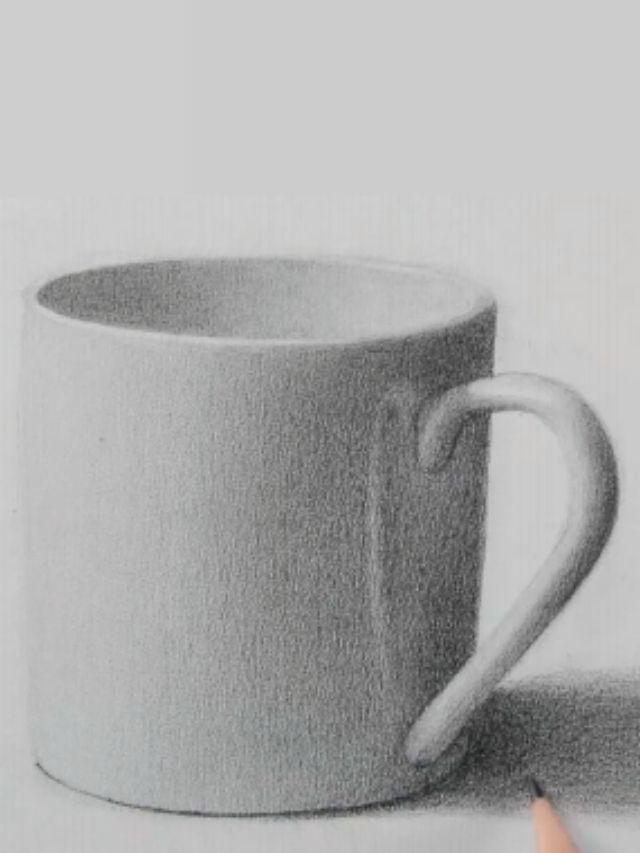
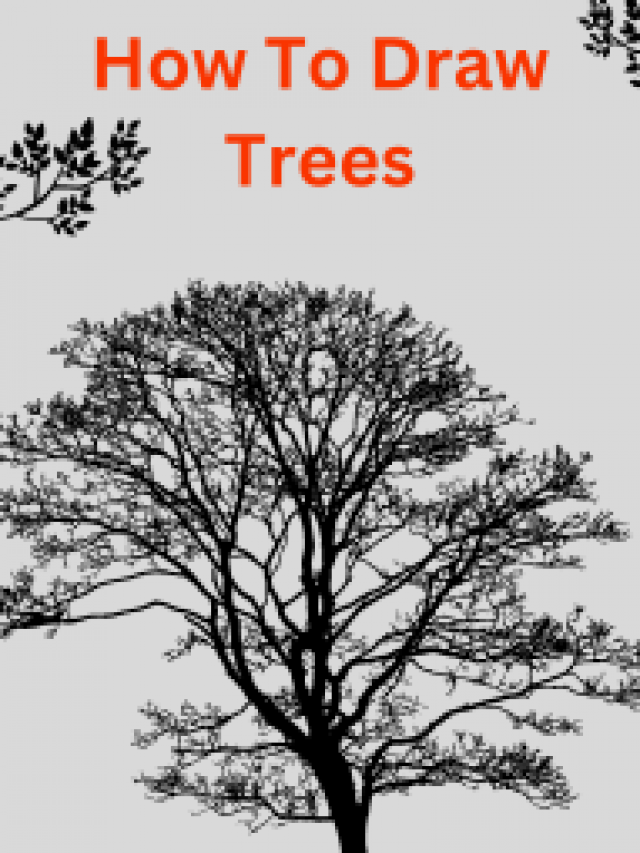
How to Draw a Tree

Drawing a tree using pencil shading is a great way to add texture and depth to any artwork. It can be used to transform a basic sketch into a more realistic and dynamic piece. While the process may seem intimidating, it’s surprisingly easy. With a few simple steps and a bit of practice, anyone can learn how to draw a tree using pencil shading. In this blog, we will discuss the steps involved in drawing a tree with pencil shading, as well as tips and tricks to help you achieve the best results.
Now let’s follow the Steps on How to Draw a Tree
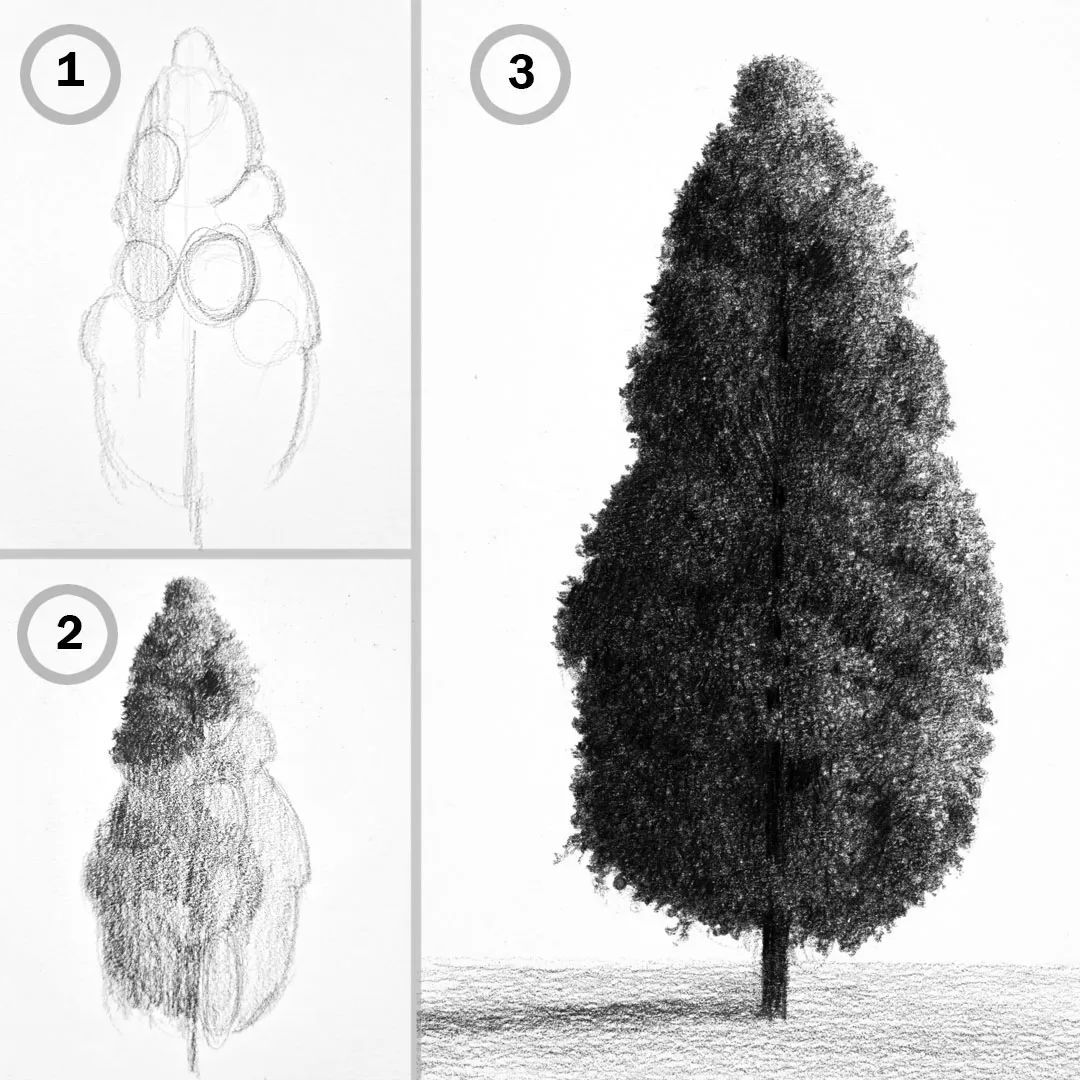
Step One: Outline the Tree
The first step in drawing a tree with pencil shading is to outline the tree. Use a pencil to draw the basic shape of the tree, including the trunk and branches. For a more realistic look, try to make the outline as precise as possible. You can also add details like leaves and shadows to the outline to make it more interesting.
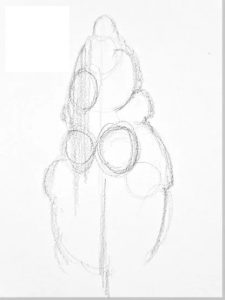
Step Two: Shade the Tree
Once you have the outline of the tree, it’s time to start shading. Start with the darkest areas of the trunk and branches and then gradually add lighter shades. Try to create a gradient effect by gradually lightening the shade as you move away from the darkest areas. This will give the tree more depth and dimension.
Step Three: Add Highlights
After you have shaded the tree, it’s time to add highlights. Use a light pencil or a white pencil to add accents to the tree. This will give the tree a more realistic look and make it appear brighter.
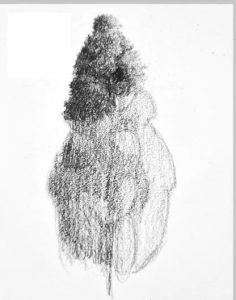
Step Four: Add Details
The last step is to add details to the tree. Add small marks and lines to the trunk and branches to give them more texture and depth. You can also add shadows and highlights to the leaves and branches to make them look more realistic.
Step Five: Add Texture
In order to give the tree a more realistic look, add texture to the trunk and branches. To do this, use a pencil to draw small lines and dashes that mimic the texture of a real tree. This will make it look more realistic in appearance.
Step Six: Add Finishing Touches
Finally, add some finishing touches to the tree to make it look even more realistic. Add small details like leaves, shadows, and highlights to complete the image. This will give the art piece a more finished and professional look.
Step Seven: Remove Excess
Once you have finished the tree, use an eraser to remove any excess pencil shading. This will give the tree a clean and polished look. You can also use the eraser to lighten any areas that need to be adjusted or corrected.
Drawing a tree with pencil shading is a great way to add texture and depth to any artwork. It may seem daunting at first, but with a few simple steps and a bit of practice, anyone can learn how to draw a tree with pencil shading. By following the steps outlined in this blog and practising regularly, you will be able to create stunning, realistic trees in no time.
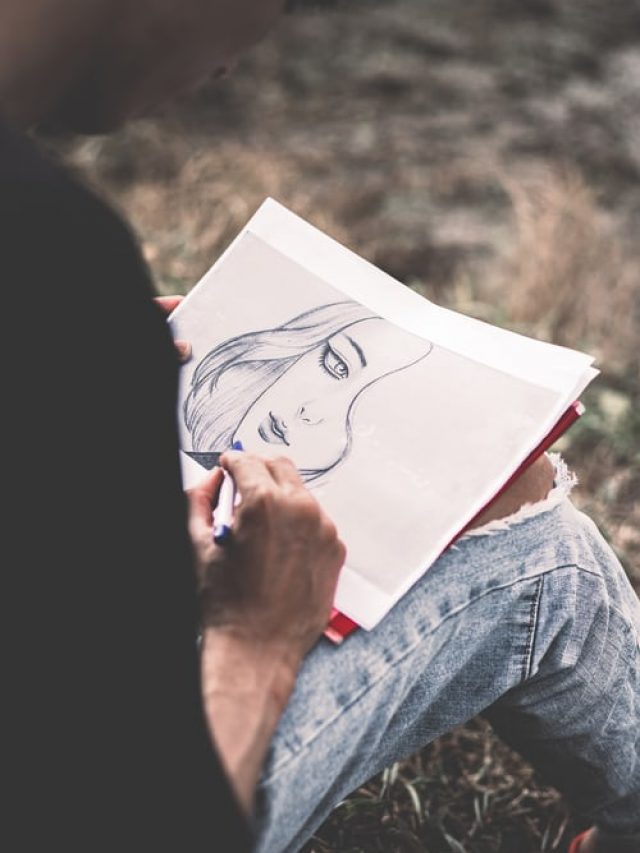
However, if you’re looking for a more in-depth exploration of how to draw a tree, then Pencil Perceptions is the right place for you. Offering online drawing classes for beginners and pro-level artists, We help art enthusiasts of all skill levels to learn to draw the techniques and enhance their set of artistic skills. Our Online courses offer thorough guidance through each step of the process, from sketching the outline to making it look realistic and vibrant. So don’t wait and enroll for online art classes at Pencil Perception and master the art like a Pro!


