
How To Draw Still Life, Ultimate Drawing Guide for Beginners

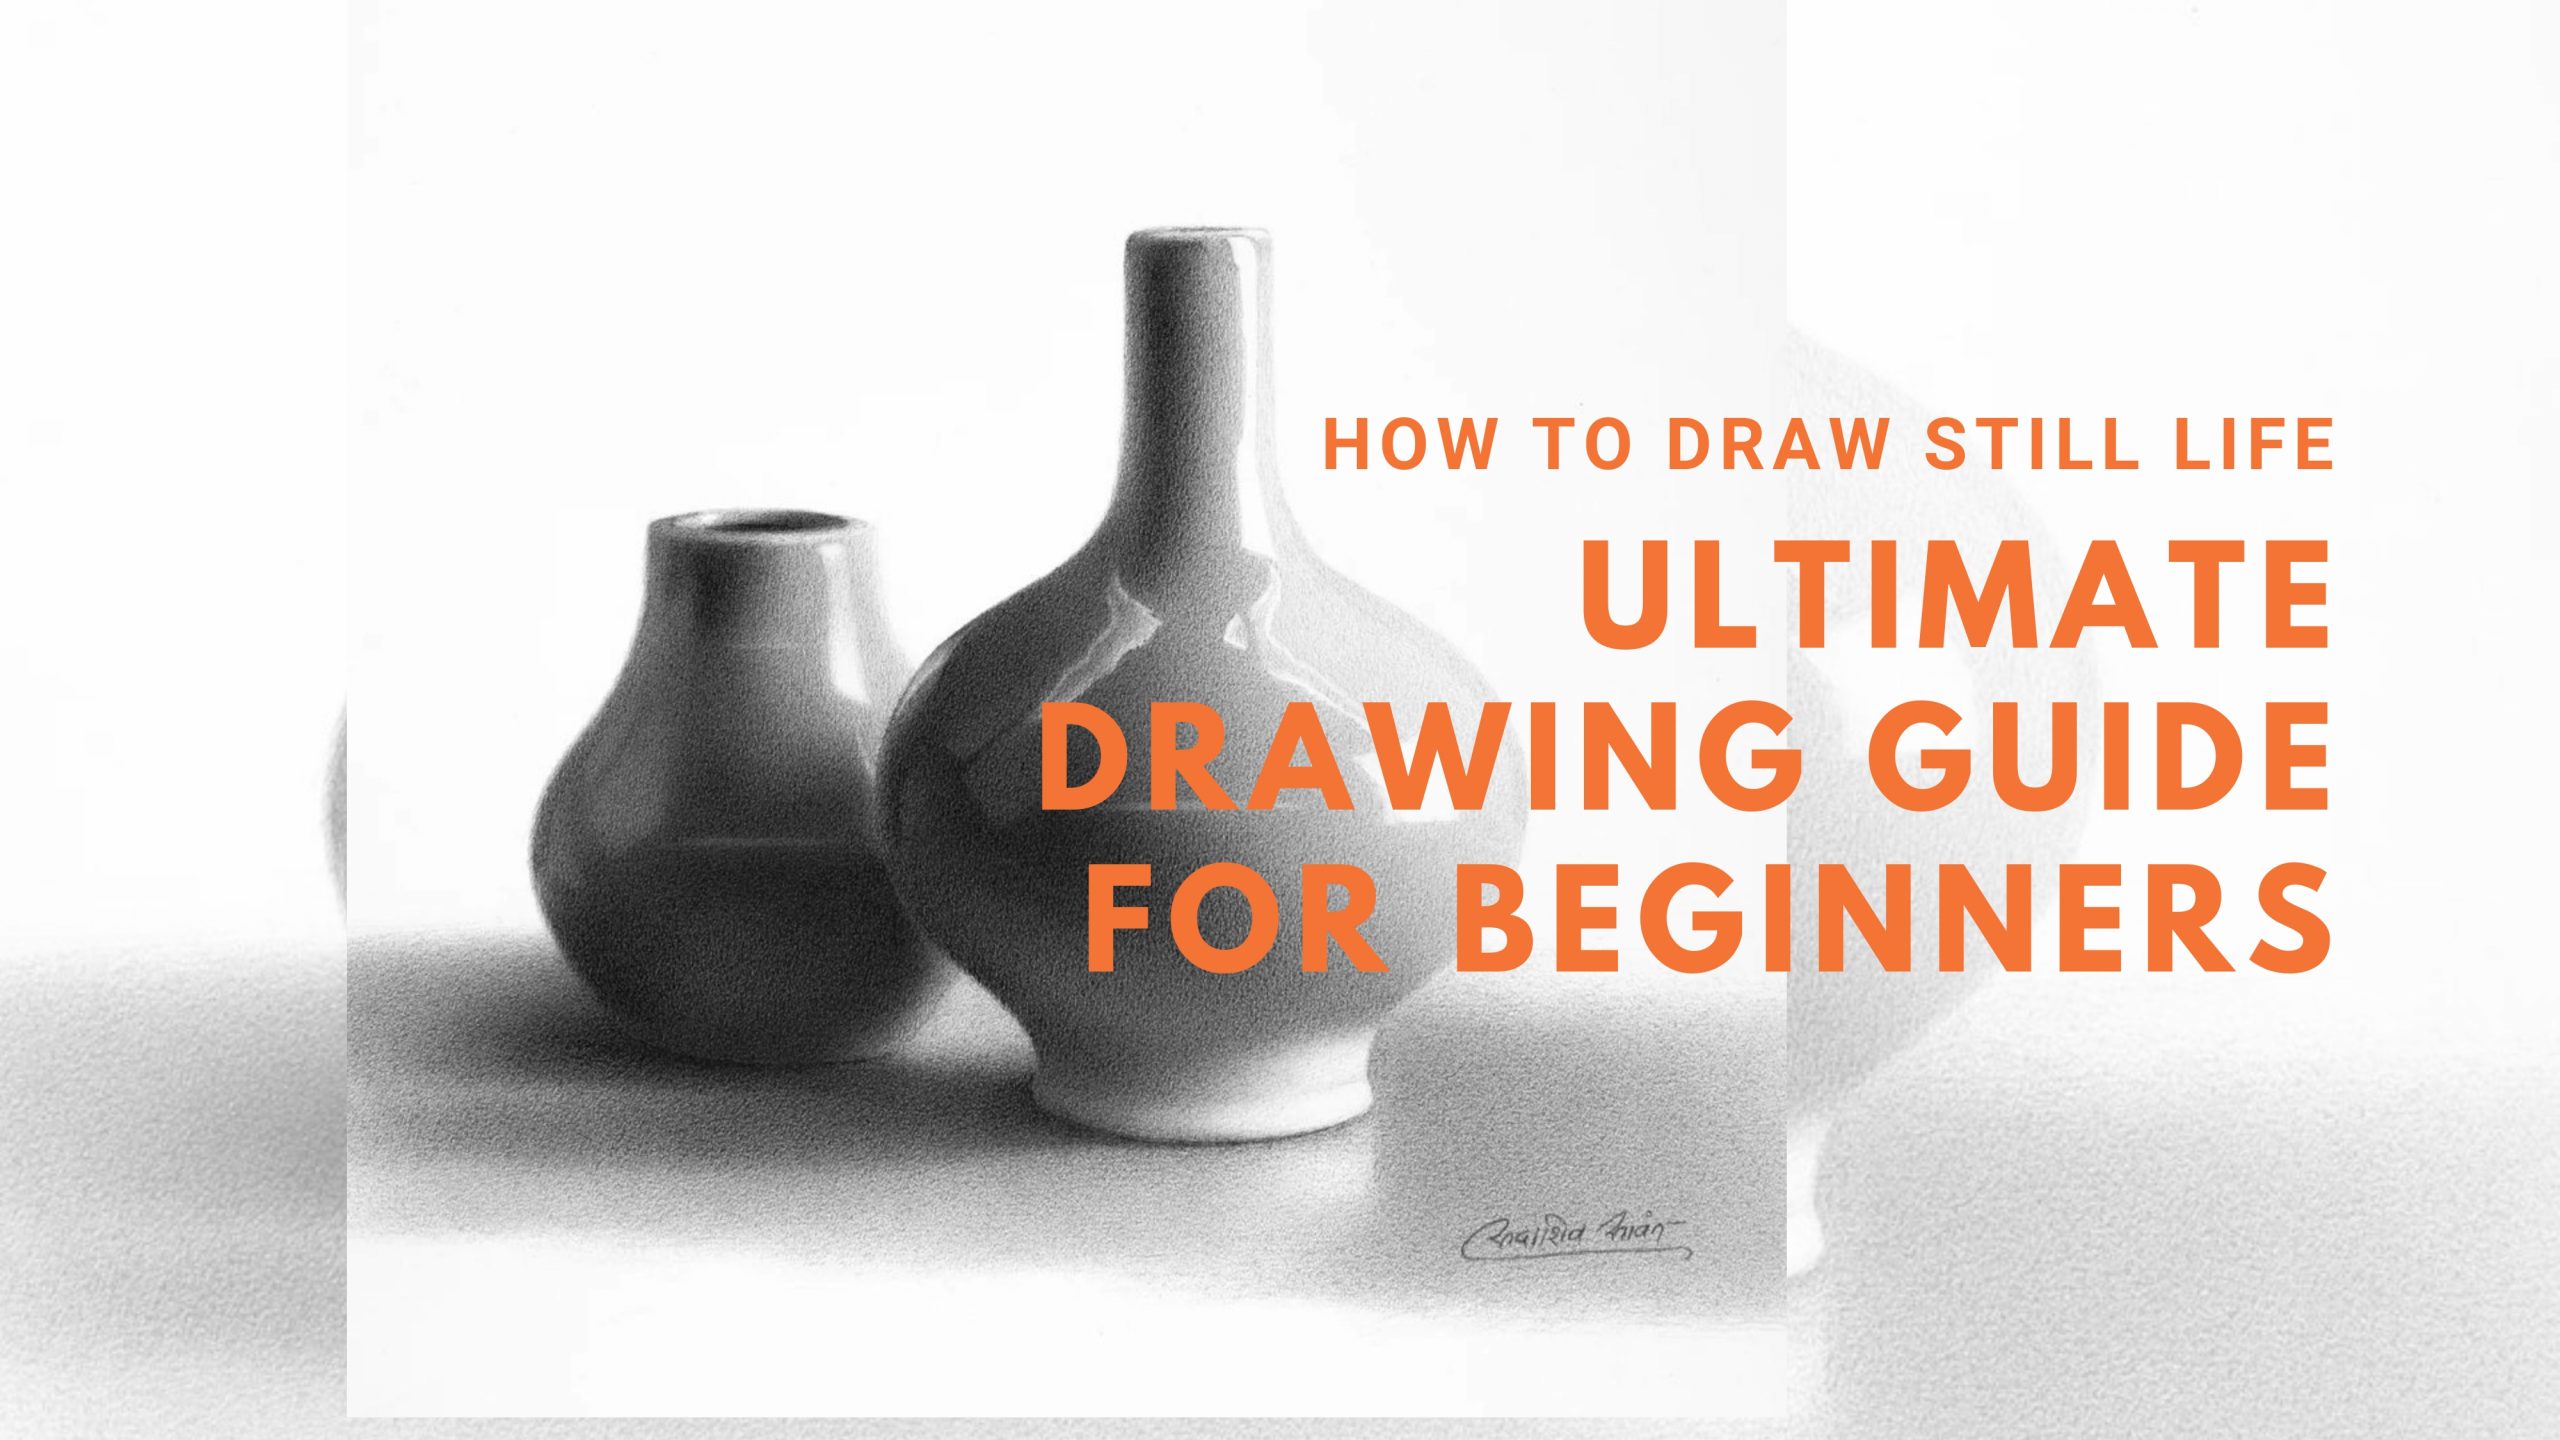
Still life drawing has been popular for centuries, and with the right approach, it can be an enjoyable and rewarding activity. Still life drawing allows us to practice and refine our observation skills and can also be a great way to express creativity. This ultimate guide will provide you with all the information you need to get started with still-life drawing. We’ll discuss the basics of still-life drawing and provide step-by-step instructions to help you create a beautiful still life,
Here is the ultimate drawing guide on How To Draw still-life drawings.
Step 1: Gather Your Supplies
The first step in creating a still-life drawing is to gather the supplies you will need. You will need a good quality sketchbook and drawing pencils. If you’re just starting out, a set of graphite pencils with a range of hardness (H, HB, 2B, 4B, 6B, 8B) is a good choice. You will also need an eraser and a kneaded eraser. You may also want to have a few different types of paper on hand, such as Bristol paper and cartridge paper.
Step 2: Choose Your Subject
The next step is to choose the subject of your still-life drawing. This could be anything from a vase with flowers to a fruit bowl. You can use real objects, or you can use photographs as a reference. If you’re using real objects, make sure they are arranged in a balanced and interesting way.
Step 3: Start Sketching
Once you have your supplies and your subject, you’re ready to start sketching. Start by sketching the basic outlines and shapes of the objects. Pay attention to details and make sure to do it with utmost precision. If you’re using a photograph as a reference, use it as a guide for your sketching.
Step 4: Add Shading and Texture
Once you have the basic shapes sketched in, you can start to add shading and texture. Use light and dark pencil strokes to create the illusion of light and shadow. Be sure to pay attention to the highlights and shadows of each object.
Step 5: Add Details and Highlights
Once you have the basic shapes and shading in place, you can start to add details and highlights. Use your eraser to create highlights and texture. You can also use your pencil to draw in details, such as veins in a leaf or patterns in a fabric.
Step 6: Final Touches
Once you have all the details in place, you can add the final touches to your drawing. Use your pencil to refine the details, and use the eraser to create highlights. You can also use a blending stump to blend the pencil strokes and create a smooth finish.
Still-life drawing is a great way to practice and refine your observation skills and express your creativity. With the right approach and the right supplies, you can create beautiful still-life drawings.
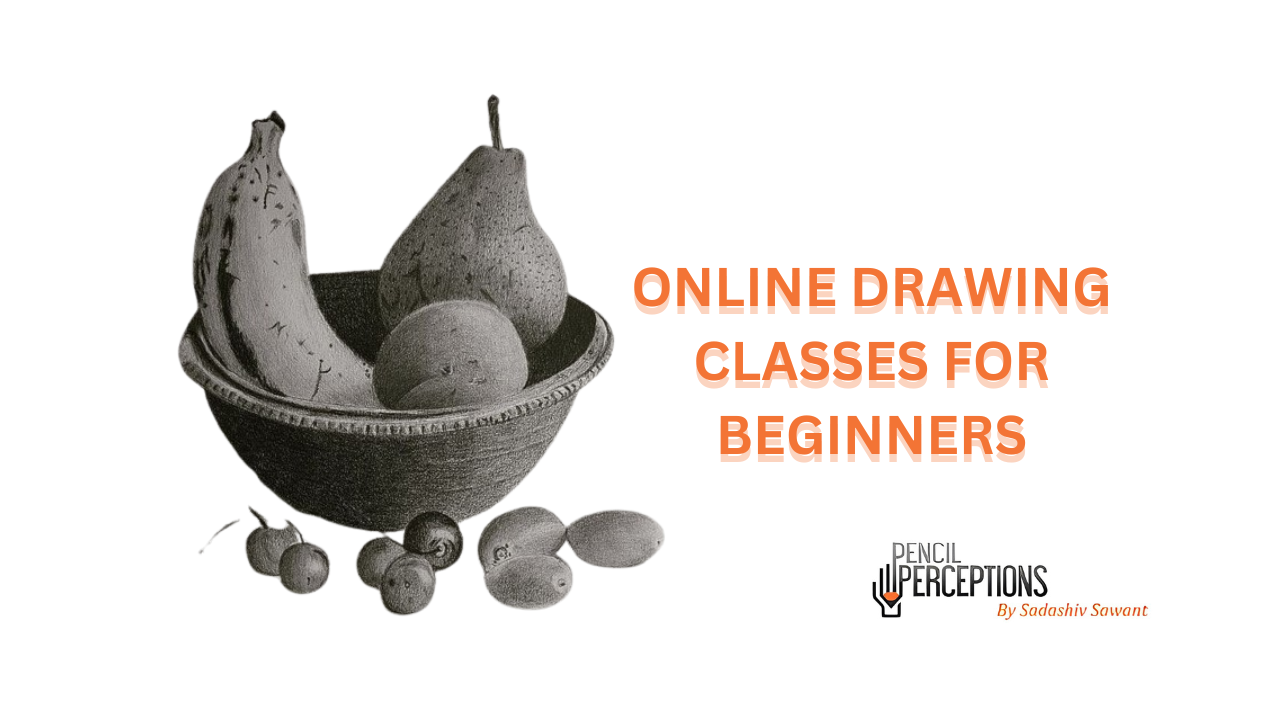
However, if you are looking for more detailed insights into how to draw, you are at the right place. We offer the best online art classes that help art enthusiasts enhance their artistic skills, our courses highlight the necessary techniques to ace still-life drawings. Comprehensive onyx course curated to help with thorough guidance at every step, our course help enthusiasts and professionals of all level sharpen their skills and leverage advantage by learning crucial still life drawing skills and techniques.
Enroll for our comprehensive online onyx course ideal to master the art of skill life drawing, and understanding textures and surface details in detail. Ace the skill of still life drawing with pencil perceptions like a pro!


