
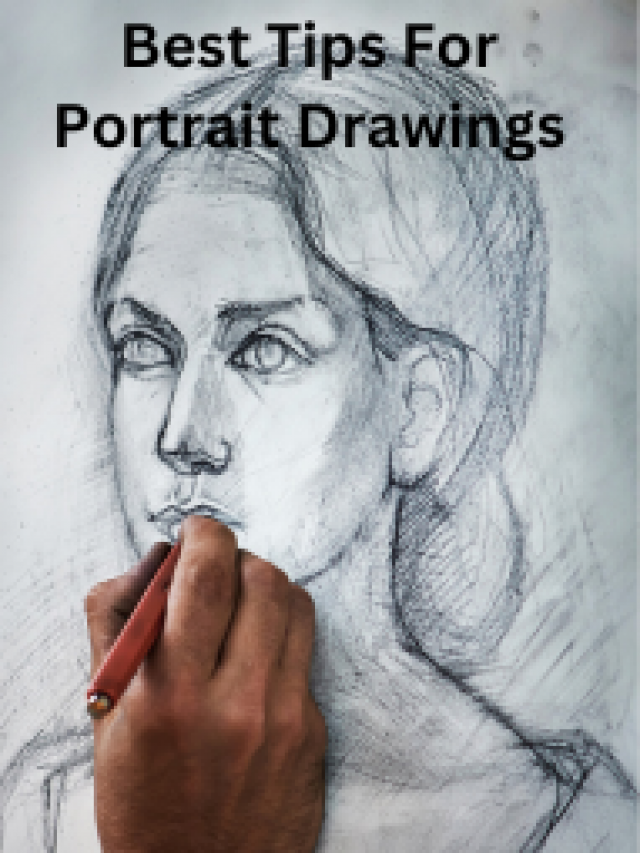
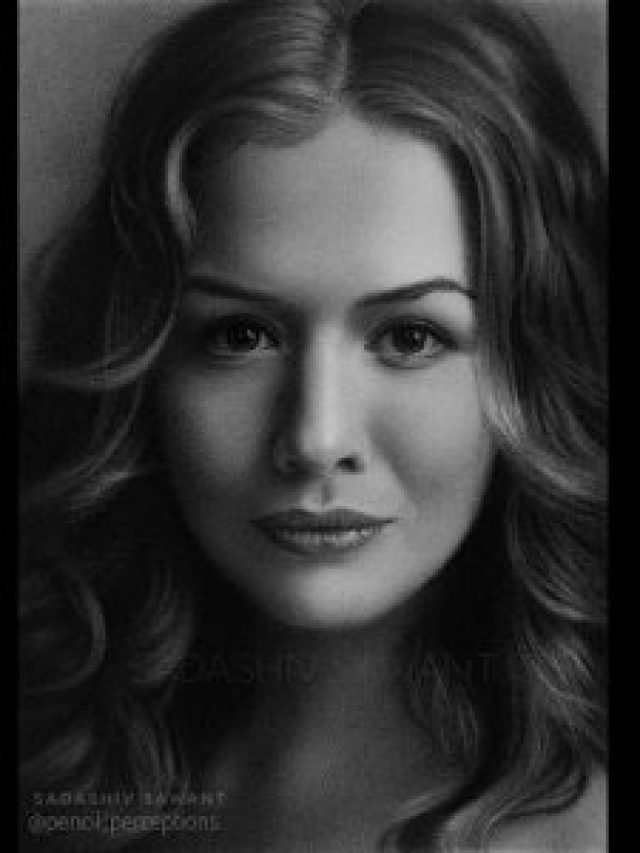
7 Essential Tips for Drawing Self Pencil Portrait

Self-portrait drawing is a great way to learn about sketching as you never go out of materials. It teaches a lot about art and yourself, how you perceive yourself and look at yourself. Also, it is challenging and easy to make a pencil portrait simultaneously because you are posing for yourself (in the mirror).
So here are some best tips for you when you make a Pencil Portrait of yourself.
1. Try Drawing from a Mirror.
As other realistic pencil drawings work, self-portraits can be made best when made from life. By that, you’ll be able to see yourself in three dimensions and help yourself with more complex pencil portraits. Also, you can always change your lighting source when you’re drawing from the mirror and experiment with volumes and darkness.
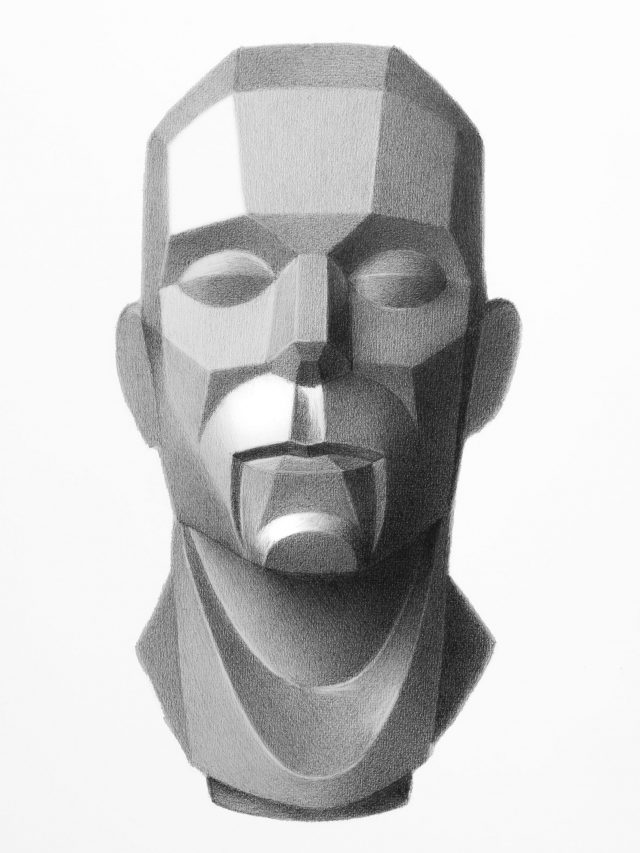
2. Work Generally to Specific.
Like all other pencil portraits, start with the most prominent shapes and shades, i.e., be more general. Work on correct proportions and values, and gradually move to add details. Remember that you have to look at the bigger picture, not just fix yourself.
3. Start your Portrait with a Light Sketch.
When you begin sketching, start with a lighter outline to draw the major features first, and create a foundation for your self-portrait. Then you can move to the next level of adding up some textures, shades, and details. Always keep an eraser handy to quickly erase your mistakes and avoid affecting other elements of your drawing.
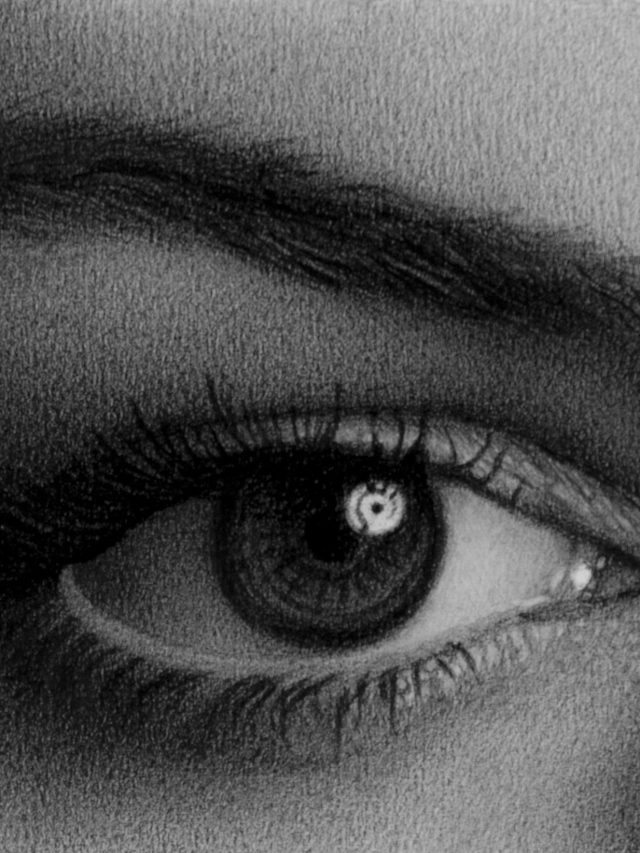
4. Add Shadows & Lighter Strokes.
Your sketch is incomplete until you have added shadows to it. Again, do it lightly and avoid emphasizing it. To make it look more authentic, use small and light pencil strokes or rounding strokes. These strokes will mix with darker pencil strokes, graphite or charcoal, and give a shadowy effect.
It is recommended that you use lighting from the above when you’re making a self-portrait in front of the mirror.
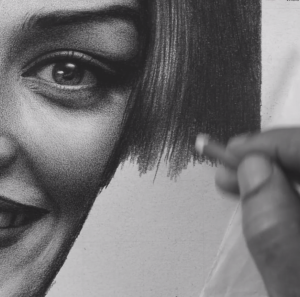
5. Do the Hairline of your Pencil Portrait Next.
Start drawing your forehead next and figure out a proportionate length. Now start pulling your hair from the scalp to the tip, and make sure you outline this thick. Later, you can add shadows and highlights and fill up the internals with thinner strokes.
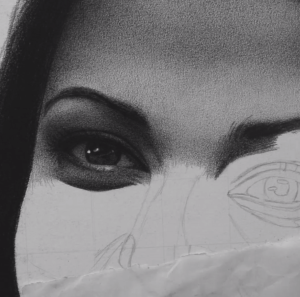
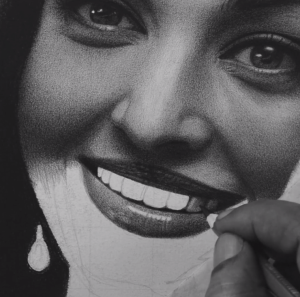
6. Time for Final Detailing of your Pencil Portrait.
After you have completed drawing the primary outlines or foundation of your pencil portrait, it is time to add the final details to your face sketch. You can now take your time and observe the shadows under your nose and eyes, tight lips, and neck to make it look more realistic.
Note: If you want, you can also use watercolours or coloured pencils to fill your portrait with finer details.
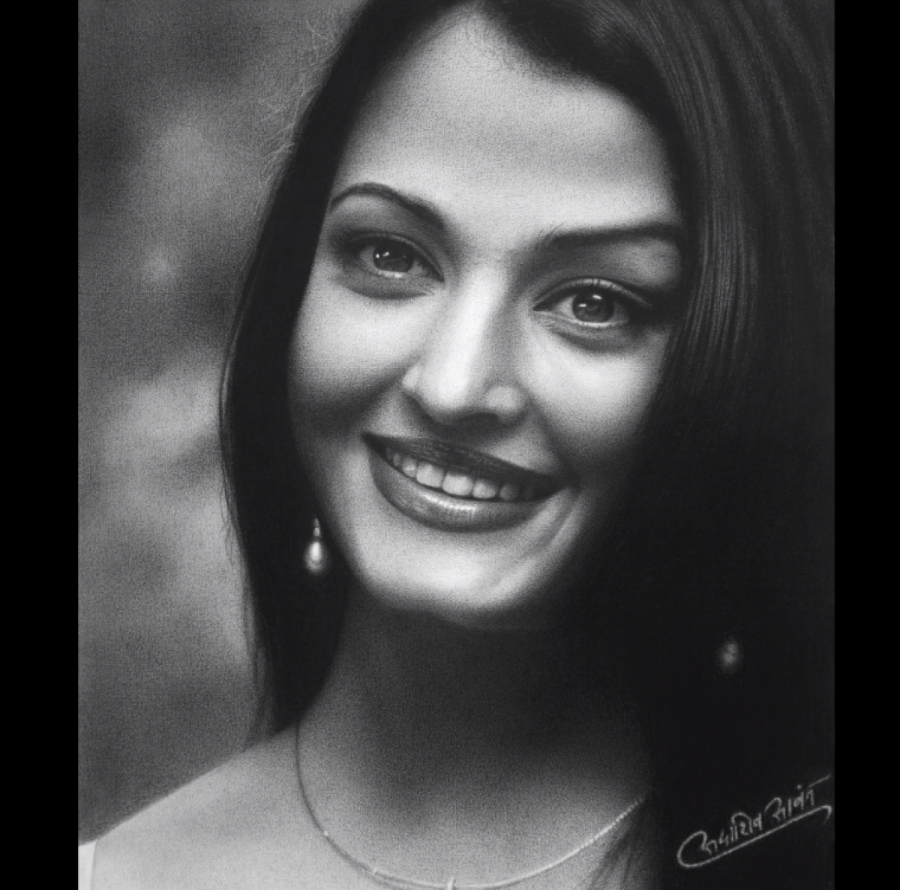
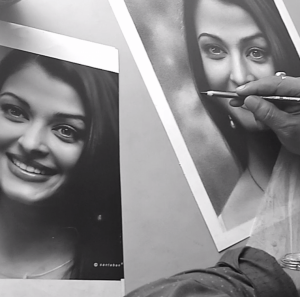
Here’s a Small Video of a Drawing of Aishwariya Rai Bachchan.
7. Get your Pencil Portrait Framed!
Keep your pencil portrait safe and framed, even for future reference. Choose a reasonable frame that goes with your texture and your details. Generally, a black frame does the magic.
Self-portraits are a traditional way of practising realistic pencil drawings. Never stop practising! You can always choose to draw other subjects, be it your friends or strangers, in a park.


