
Ultimate guide on How to Draw Portraits Drawings

Did you know that there are stages that every drawing must evolve through to look convincingly realistic? And If “my portraits drawings don’t look realistic, I know I’m missing something but do not know what is it” is what frustrates you, then here is an action plan designed to draw best portraits drawings.
In this blog we present a Step by Step guide on how to draw realistic portraits by revealing many tips and tricks of improving your observation at every stage. This is a small compilation from our Online drawing classes
These Steps Are For You To Use, Analyse And Apply In Your Current Portraits Drawings.
How To Choose A Good Reference Photo For Portrait
Choosing a subject for a portrait must be a smart one! But how to choose an ideal portrait reference? Consider these Points to select the reference.
- Lighting, meaning it must not be too overexposed(too bright) or underexposed(too dull).
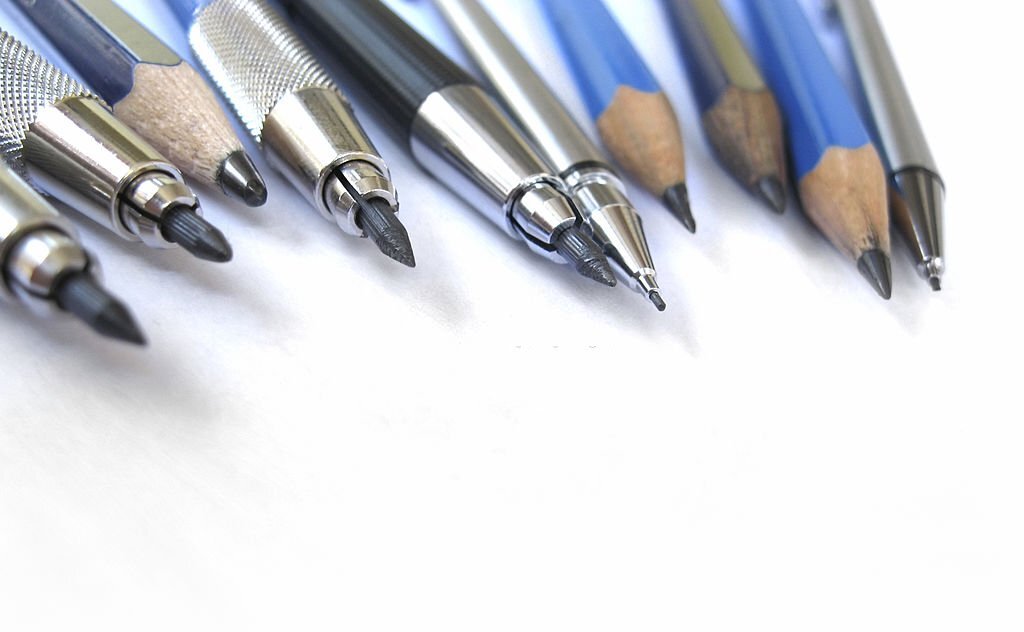
- High Resolution (Search for large size images)
- Composition (Balanced with breathing space)
- Matches the looks of a person in actuality. We look different in different photos and angles, it is best to choose a reference that reflects the best of the person, it could be the smile, the cheeks, dimple, or any feature.
Don’t Miss On Proportions
If the Drawing is not accurate, how matter realistic you try to shade, it is meaningless as the base has been ignored. Even if you draw using a grid, you may end up making mistakes! Understand the anatomy and keep checking the proportions again and again. To check the accuracy at this first stage and the last stage too, use this trick! Turn your pencil art work upside down and do not name the features as eyes, nose, lips, etc. Just focus on accuracy of lines, abstract shapes. Another trick is to flip the drawing and reference vertically and check the accuracy. Proportions are accurate when you draw what you see and not what you know.
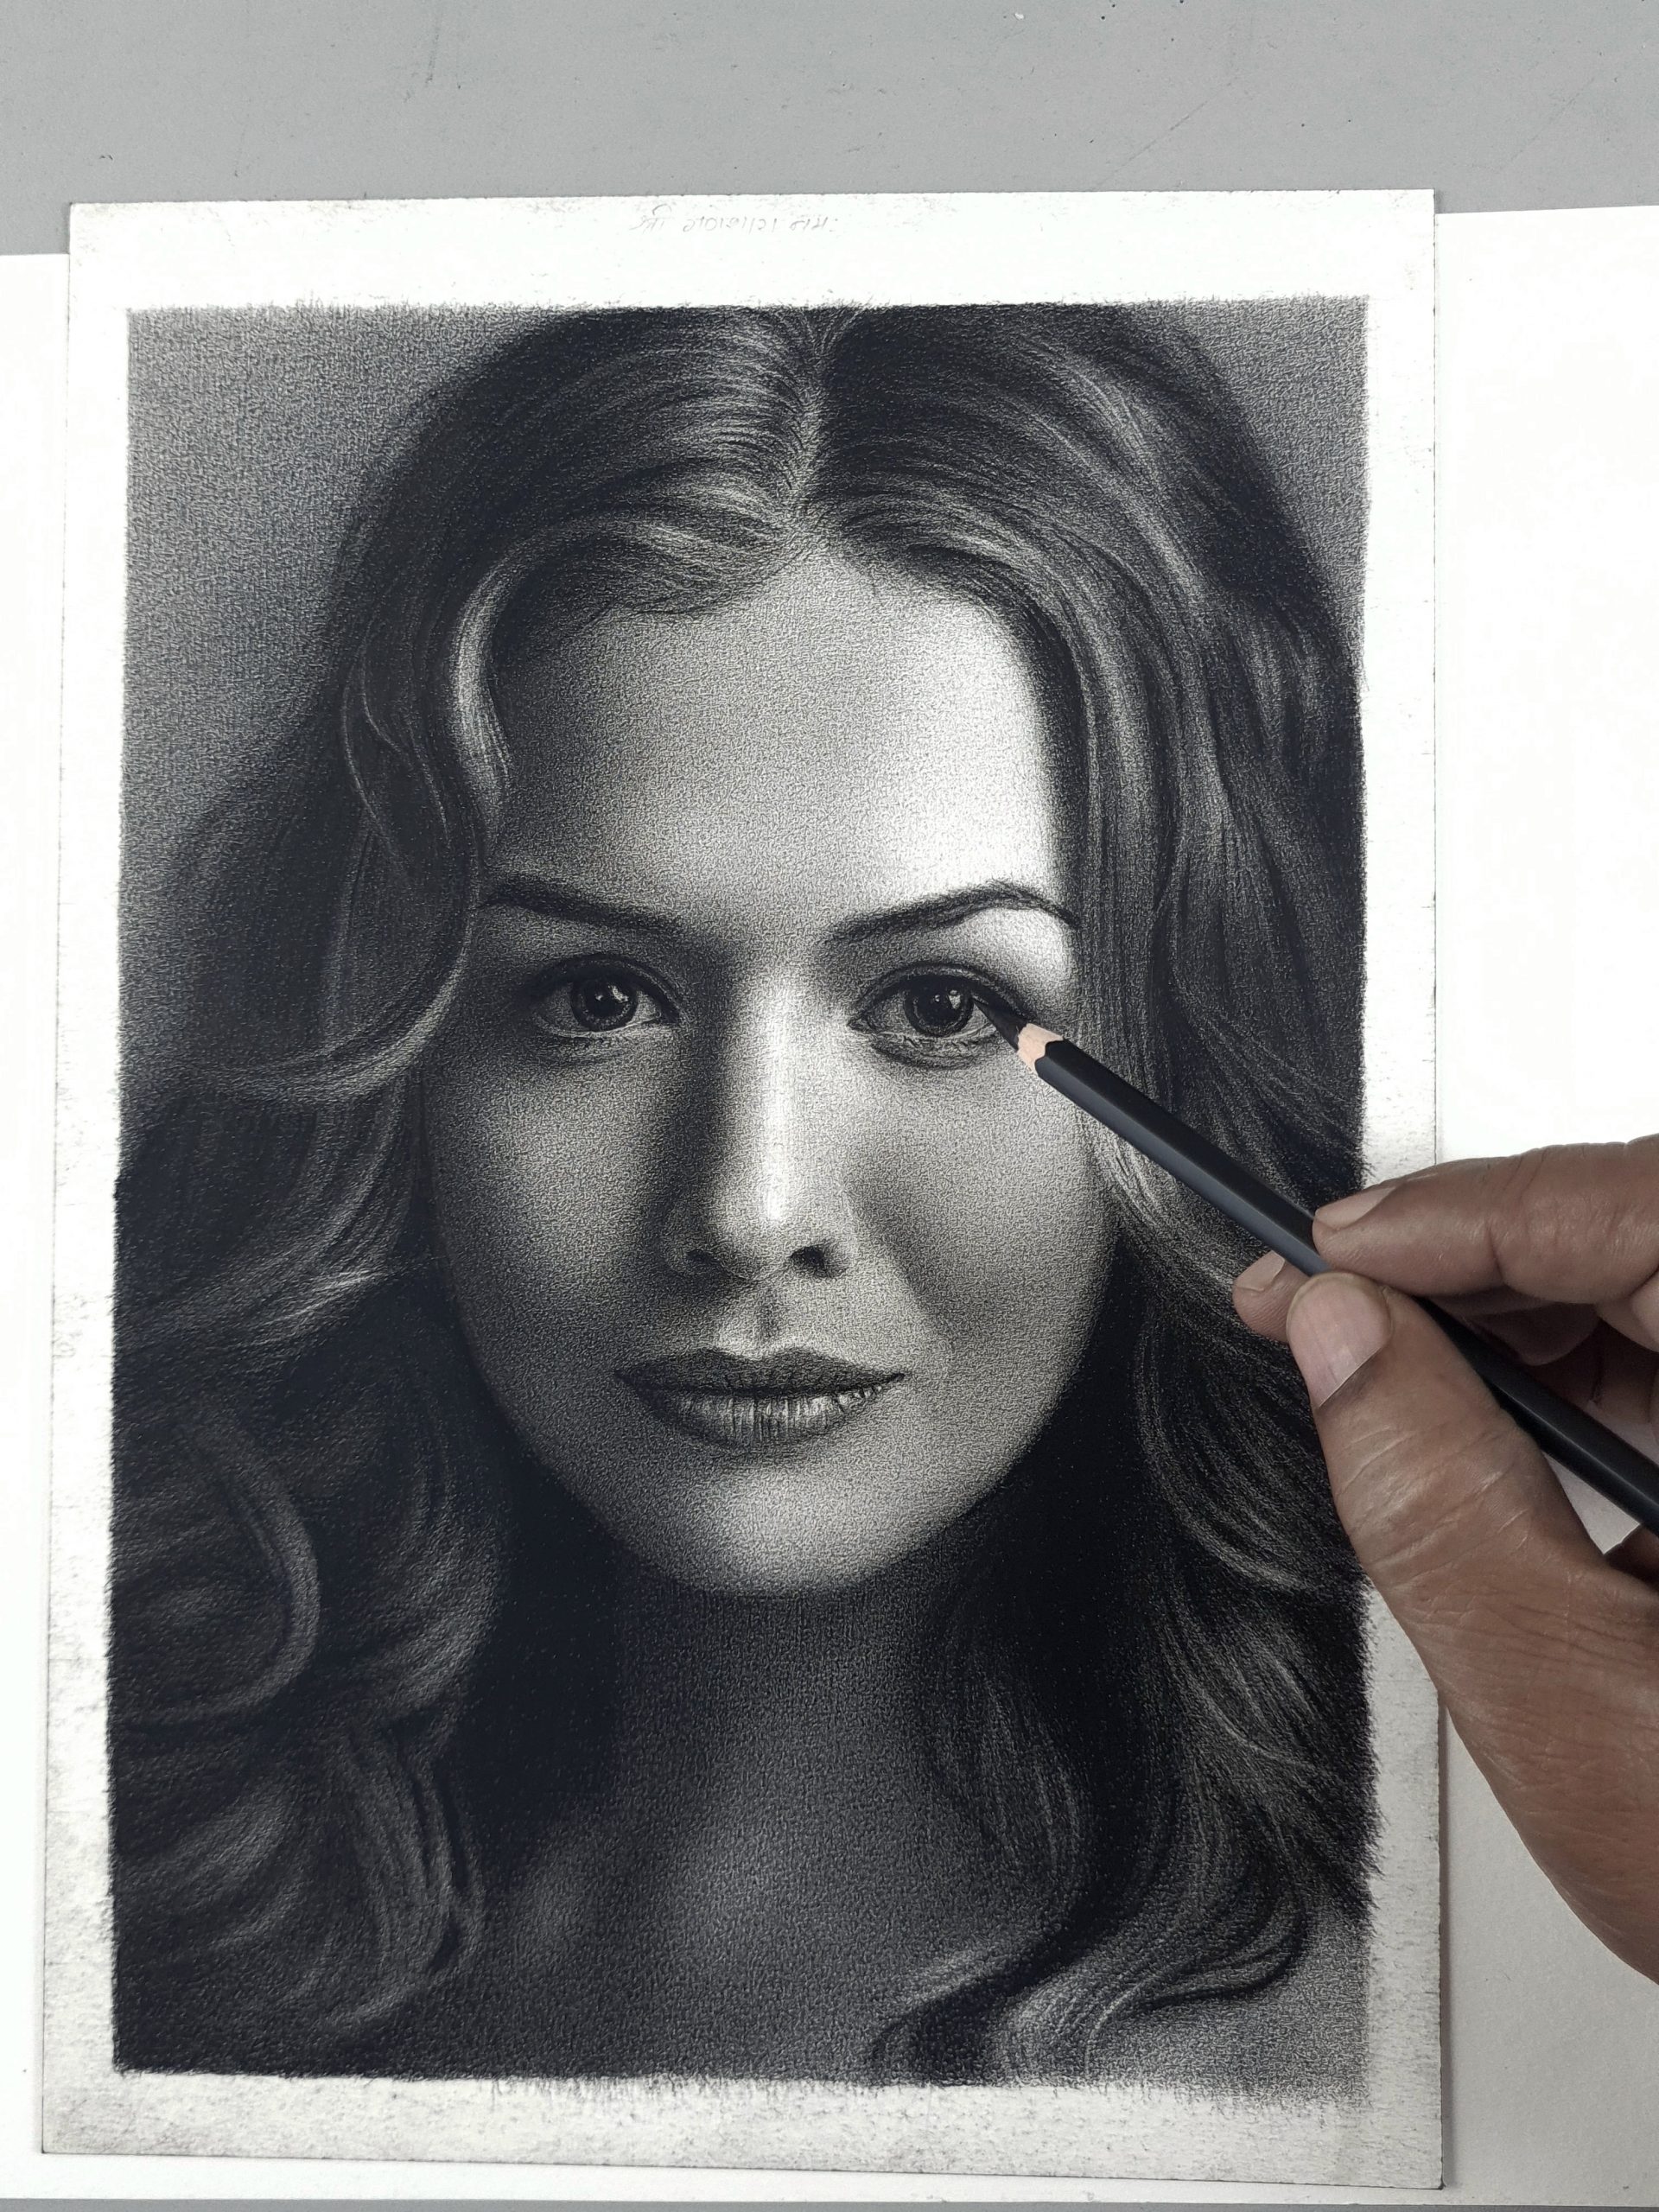
What To Start First After Portraits Drawings
The further process is exactly how we teach in our online art classes. 0 Lightly just shade the dark areas so that you can identify the character of the portrait before working in a detailed way. To start the portrait, if you are a right handed artist, start from the top left part of the drawing. In case if you are a left handed artist, start from the right top corner. Another better option is always going from top to bottom.
How To Draw Hair
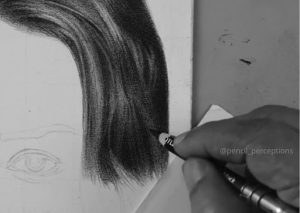
While drawing any type of hair, Note these few things which can make them look more realistic.
- Always shade in the direction of the flow of hair in the reference and create a base layer
- Maintain the contrast in hair. Let the hair be in any colour or type, either the darkest dark v/s dark values or the lightest value v/s white.
- We have the tendency of adding more highlights than actual ones. Maintain the light areas as it is or add highlights in the end.
- Bonus Tip: I am sure many of us face the problem of seeing white spots due to textured paper and charcoal doesn’t fill the gap completely. In such cases, use a Sharp pencil and fill in first and in the final stage use a Filbert brush to fill those gaps.
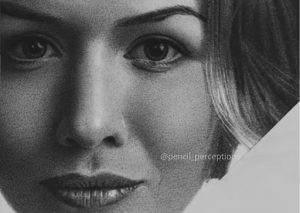
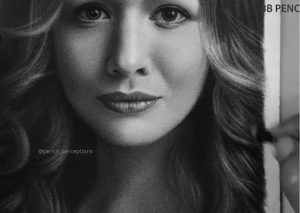
How To Draw The Skin
Skin Texture is not just about learning wrinkles, pores and freckles. Many of them fail in bringing realism to skin because they focus more on texture rather than one important aspect. Could you guess that? It is the transition of tones from dark to light underneath them. Do not miss on
- The base transition of tones,
- Keep the halftones, highlights, the shadows in place
- Only then, add textures!
How To Draw Eyes
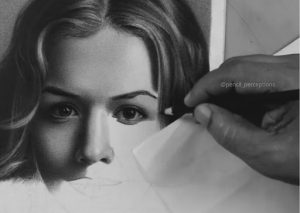
There are a thousand photos, and videos on the eye! The eye is an attractive emotive subject to draw. In portraits drawings, several steps must be considered while drawing an eye.
- Outline of the eye. Every realistic face is 5 eyes wide and we often make mistakes by drawing the eyes bigger in size than actual. Always cross check the accuracy and mark the pupil and highlight
- First, shade the pupil and then shade the iris in the direction of circumference. Pro-tip: Keep the edge of the iris slightly blurry just as our eyes are.
- Another tip is, that the sclera (white part of the eye) is never purely white! Capture that light tonal value! Only the highlights are white. This really transforms your eye into a realistic one
- Add depth in and around the eye skin. Darken the creases using 2B or 4B.
- Draw the eyelashes and eyebrows using an extremely sharp pencil and in the eye.
How To Draw The Nose
- Focus on the dimension of the nose before shading it. It will help you in rendering the lighter tones in an accurate place.
- The Nose will always cast a shadow and it’s necessary to notice it and render it carefully.
- For Textures, the direction of the pore textures will be in the direction of dimension and flow.
How To Draw Lips
Portraits Drawing lips and teeth are often started with a base layer and then adding the tones just as in the skin. Here the highlights must be made in the end. For teeth, always use HB or B to shade them.
How To Define The Subject
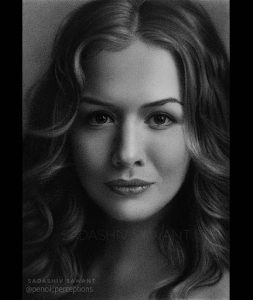
Portraits Drawing is a balancing act. Just as we need to “specify” some areas of our drawing (like the focal point), we need to “simplify” others too. Both create balance. A common tendency is to draw detail just because it’s there, you cannot ignore it! Details everywhere are very uncomfortable to look at! To hold on to a viewer’s attention, simplifying the rest is important. In Portraits, the highlights in the drapery of cloth and rest must be toned down (fade) and soft edged.
How To Give Background
The Background is not a compulsion. But there are three things must consider while making backgrounds.
- The Background must be natural and blurred. A Shallow depth of field in camera can help you achieve.
- Transition backgrounds look calm and do not overpower the subject, rather help in achieving the finishing touch to it.
- Always consider the lighting of the background, it matters a lot. utilise natural window light or soft lighting for soft backgrounds
Many create contrasting Booker backgrounds which are as bright as the subject which fails in attracting a viewer’s attention to the portrait. This is one of the most challenging portraits I made recently.
Realistic drawing is a learnable skill. You can drastically improve your drawings with proper instruction and practice. Apply these various tips step by step to transform your portraits drawings. To learn in detail, you can check out our Online sketching course which not only covers the fundamentals of drawing and shading but also helps in developing a strong foundation to draw any portrait or subject! Check the course details here.
For short comprehensive learning, you can check out the Ultimate Workshop Bundle which explains every step of this blog in depth with detailed demonstrations at an affordable fee!


