
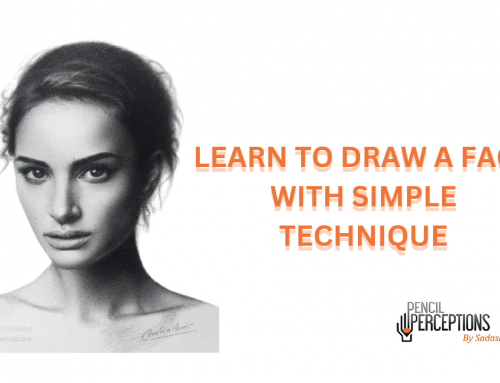
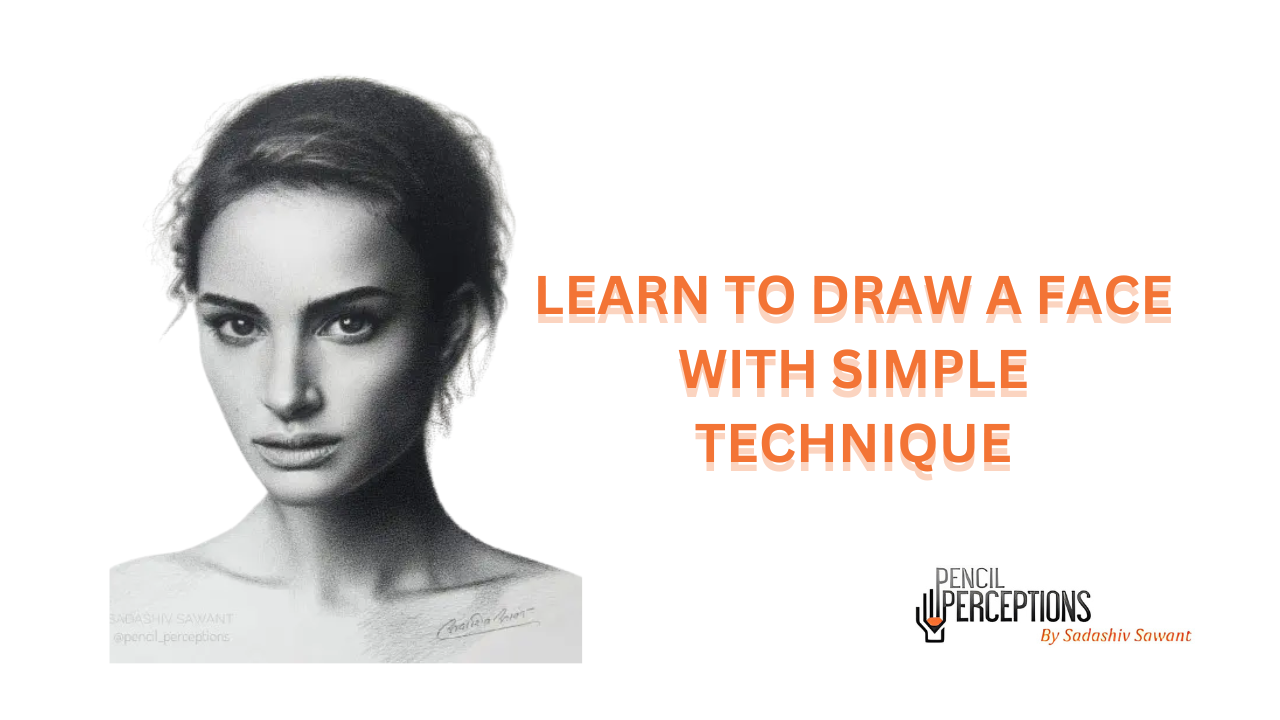
Tips to Learn Portrait Drawing

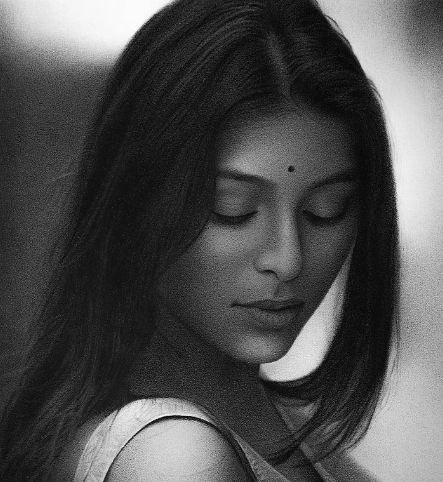
Portrait Drawing is not so hard. Do you feel ever stuck or get disheartened when your pencil portrait drawing makes you feel like there’s something lacking? And then aspiring to get better, you look for tips, tutorials, also dos and don’ts of portrait drawings. You try and still do not achieve the desired result. Do you know why? Because the most necessary tips are considered as “not-so necessary”! So, Let’s make portraits easy for you.
You’ll find that these tips are foundational to drawing a realistic face using any drawing medium, be it charcoal or colour. The following art tips cover every step of the realistic portrait drawing process. And it doesn’t matter whether you are drawing using a reference or drawing from life. We have tried these methods and they stand true. Add them to your process and see the difference.
Here are some tips on Portrait Drawing
-
Briefing your brain
Our brains have enormous power to create our visualisation as reality. Before even starting to draw, the first step is to understand what we are about to draw. Absorb what you see as ‘information’. Do not name what you see as eyes, nose, lips, etc. see them as shapes or forms under a light source. Now combine it with the information you are aware of. Think with forms, not lines, and focus on proportions, the light, shadow family, and your creative opportunities. Visualise the final output on the paper you are supposed to draw.
-
Always draw a centre line

Faces are vertically symmetrical. Always draw a centre line. It helps us analyse whether the placement of all the features is vertically equal on both sides. Now draw horizontal lines marking the eye, nose, and lip line. Mark the endpoints of the eyes, nose, and lips as shown. These indicate where those facial features are on the face. Cross-verify the placement and proportions considering the symmetry. Always match the height with the width ratio. These are some small effective methods we focus on in our online portrait drawing course.
-
Plan out the Head

Compose the portrait on your paper. It must have some breathing space in a composition manner between the subject and edges of the paper or canvas. Always keep the portrait life-size or even smaller. Keep this in mind, an average human face is 8 to 9 inches. In traditional portrait drawings, anything larger than life-size as it looks odd hanging on the wall. Draw lightly.
-
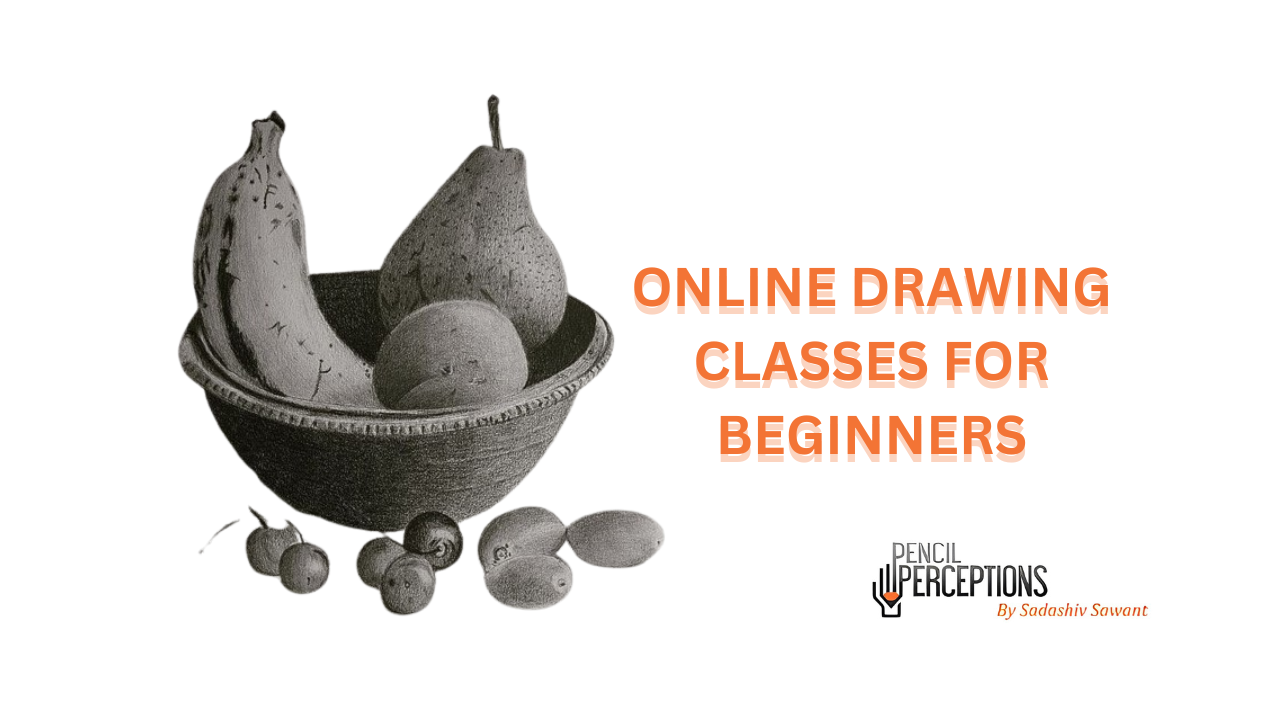
Look for big simple shapes and draw them first

Once the markings are done, start simplifying and drawing the big shapes. Avoid drawing the small complex details along. This helps in the accurate placement of facial features and get likeliness in the drawing. Then, mark areas of highlights and shadows.
-
Check accuracy before you start shading

Many times, we are in a rush to start shading. However, before we start, it’s good to have a judgement of accurate drawing. (especially when drawing from life). Here’s a Pro Tip! Before you start shading or drawing any more details, first very lightly fill the shadow shapes and the dark areas. Keep the drawing at a distance and self-criticise the drawing’s accuracy. If it’s good to go, then get going!
- Capture the Dimension first, then the Texture
If you are a realist artist, you must know the importance of value study. When you capture accurate tonal values, the drawing looks three-dimensional without even adding any texture detail. Many artists focus on achieving realistic textures but fail miserably in rendering the hidden gradient beneath them.
-
Pro Formula for Tedious Textures
We all struggle to create textures after multiple trials and errors. Skin textures look so tough! Everyone has a different method for creating textures. We all learn through different posts, books, online videos, and whatnot! Two major things to look for in any kind of texture.
- The prominence of texture changes as form and light change.
- Every texture has a gradient, find that flow of dark to light.
-
Take breaks!
Want to self-correct? It’s really hard to see your own mistakes when continuously involved in the drawing. Our eyes feel heavy and our mind gets tired of concentrating. It’s always a good idea to take breaks! Take a walk or do something that relaxes the mind. As you get back, you’ll be able to find areas of self-improvement.
-
Turn the drawing upside down.
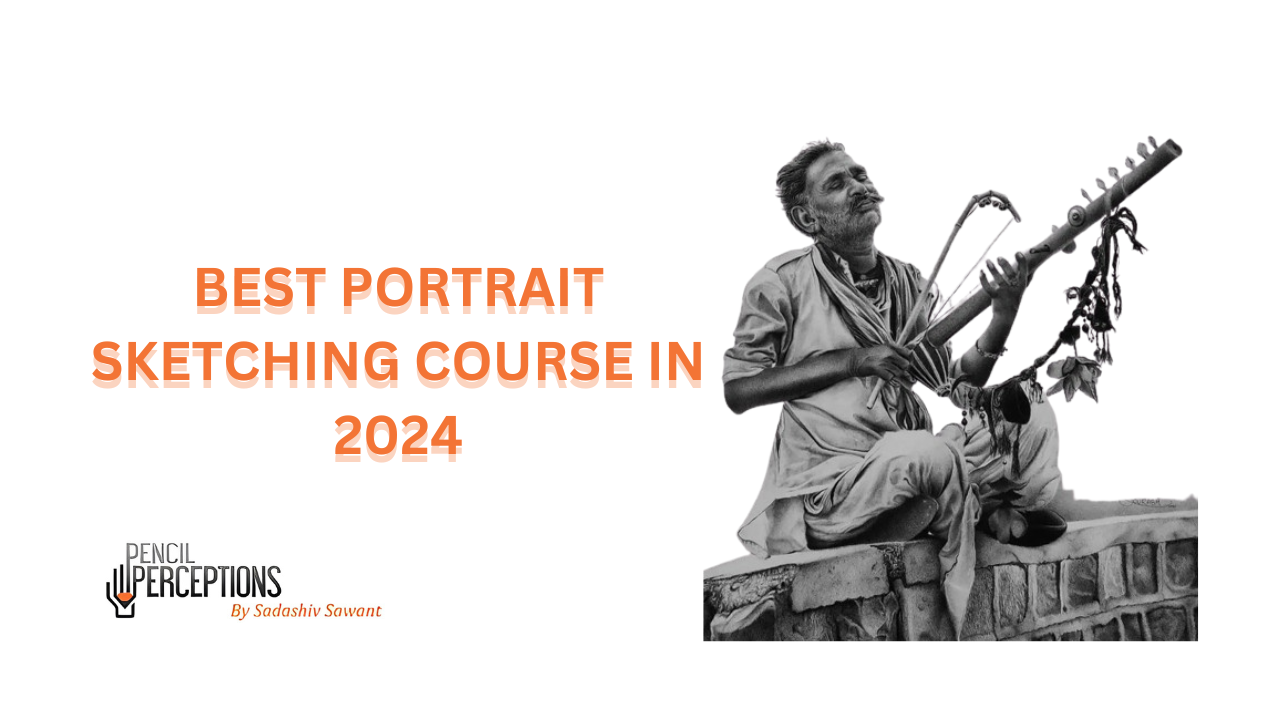
One bonus track, (only in case you have a reference) is to turn the drawing upside down! Your mind will be confused and naturally will follow the shapes or patterns it sees. This trick helps in giving a fresh perspective to the drawing. So, compare with the reference and spot the differences. While we teach realistic pencil drawing to our students, this trick has helped so many to achieve accuracy in portraits. This definitely helps!
The more you practice these skills, the better you will become. So, just keep at it and before long you’ll be creating realistic portraits of yourself and of others! Our online drawing classes provide important to such small tricks and personal support to achieve massive results in portraits. You can check out our systematic approach to learning realism drawing here.


