
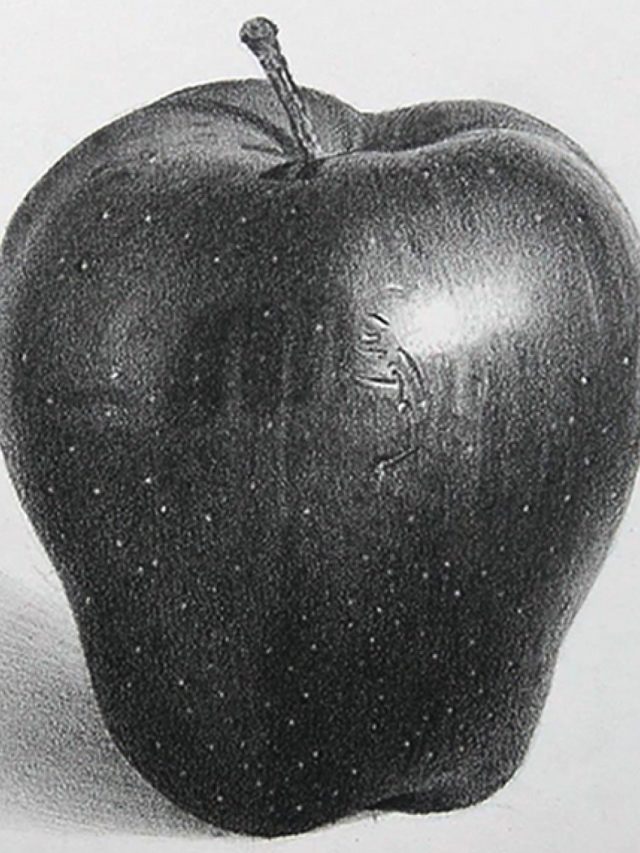
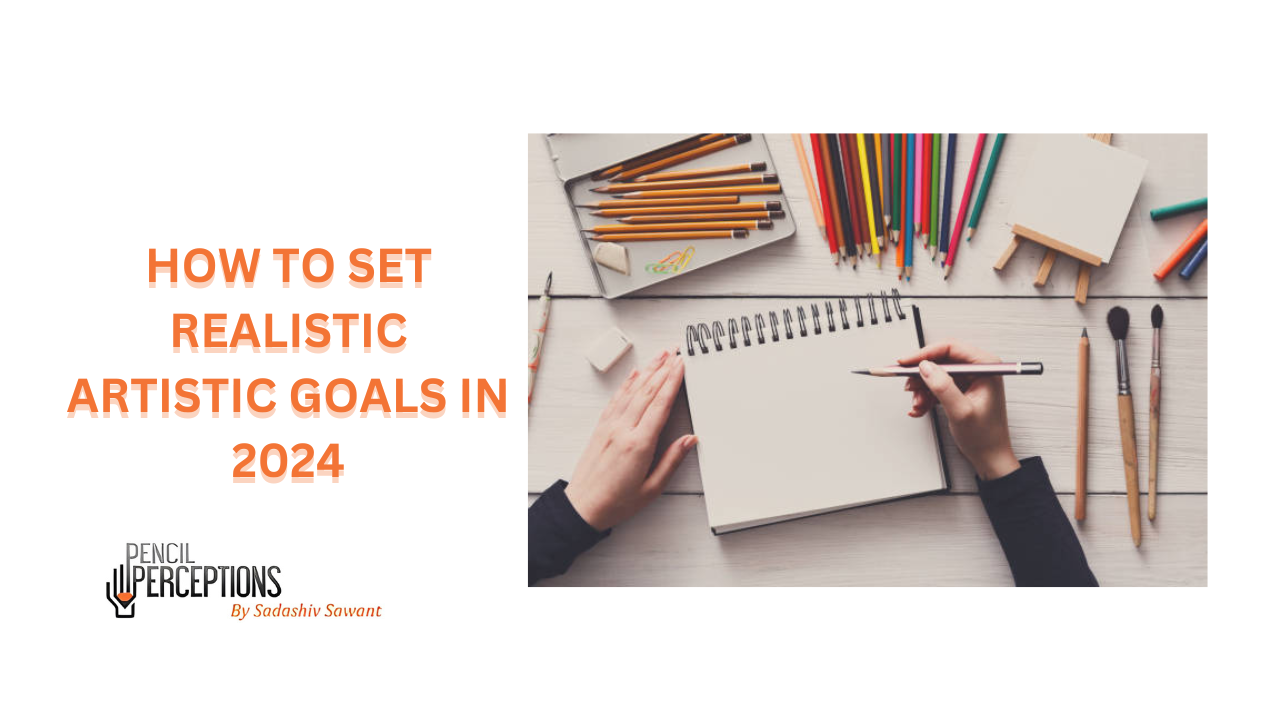
Step By Step Guide to Draw a Still Life Drawing


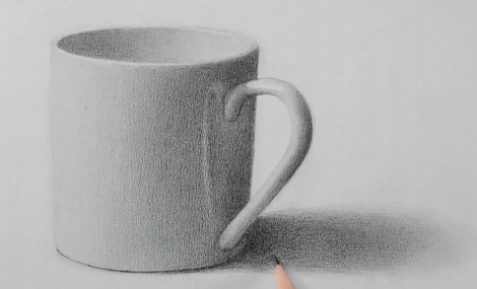
Drawing a still life is a fantastic way to enhance your drawing skills. But as artists, are you doing it right? A Still life drawing is different from a usual drawing, and this makes it difficult to draw. If you’re a beginner and are just starting to learn basic drawing techniques, you can begin with simpler objects, like mugs or balls. You can move to complex shapes once you have spent considerable time with the principles.
We Recommend that you start drawing by focusing on the big picture and work on the correct placements of objects or shapes on the page. Details like shading and adding textures can be done after balancing the light and dark. In this blog, we will be sharing a detailed guide on How to draw any still life drawing? However, before you start drawing your still life object, you must;
Gather the material needed to draw.
Here’s a small checklist to keep in mind before your start drawing:-
- Drawing Papers
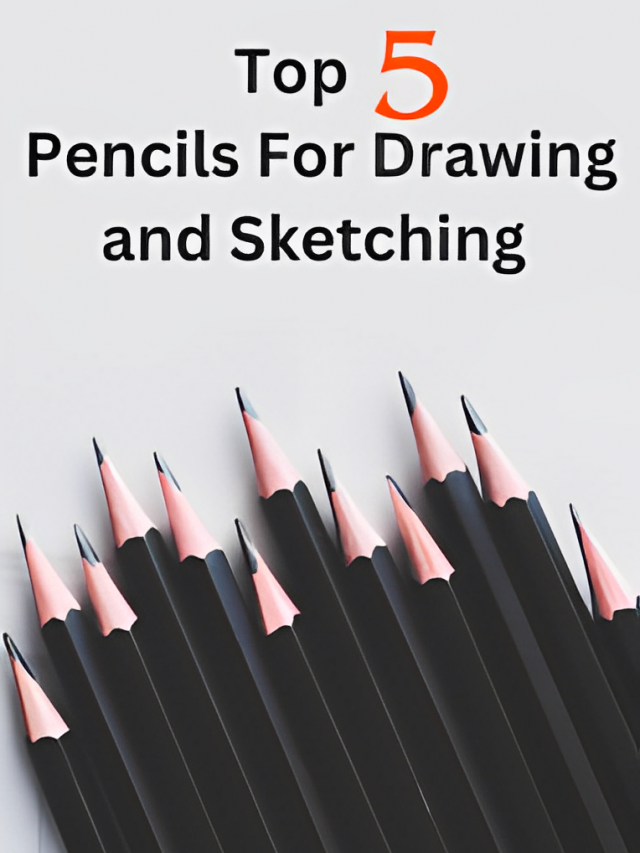
- Staedtler Pencils (4H, 2H, HB, 2B and 4B)
- Kneaded eraser
- Brush
- Sharpener
- Grayscale
- Tracing Paper
Once you have all the tools to create the still life drawing, you can follow these steps to create your sketch.
Here is a Step By Step Guide to Draw a Still Life Drawing
Step 1:- Measure the Still Life Object you are going to Draw.

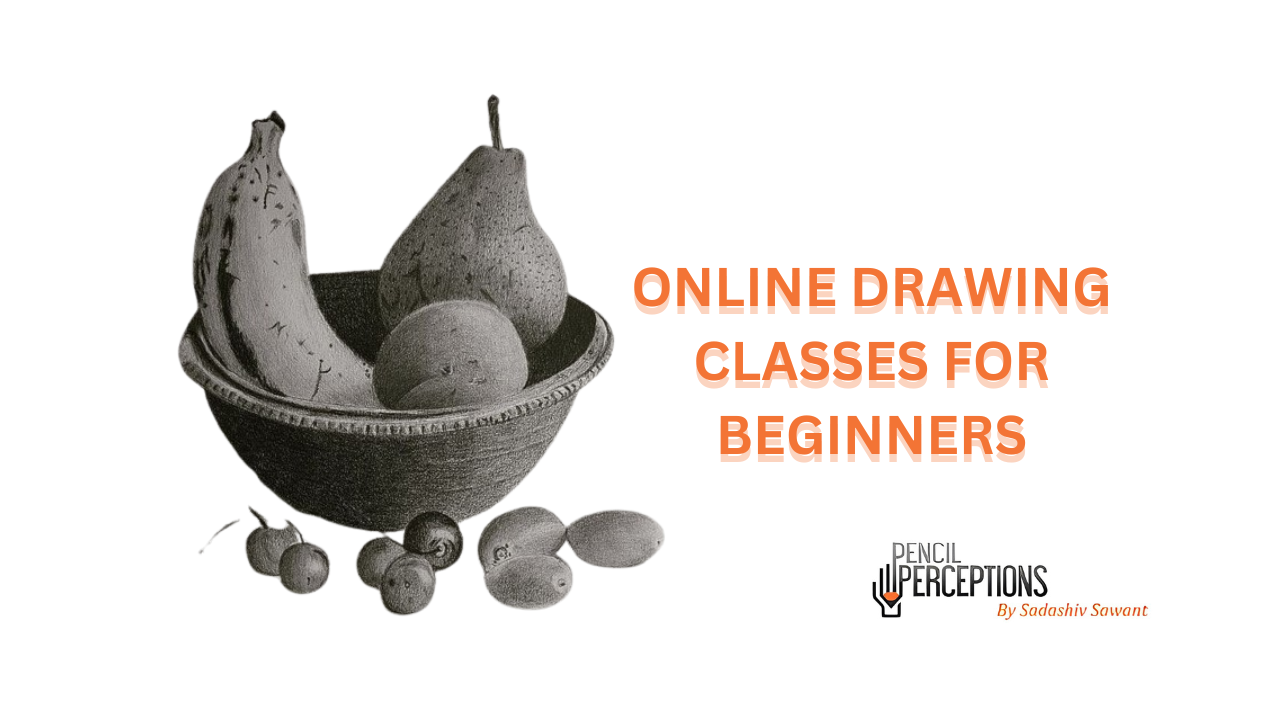
Your subject doesn’t have to be a bowl of fruits every time; it can be anything that inanimates and inspires you.
One of the first steps is to Measure your subject, measuring roughly how your issue looks like, with the help of a ruler or pencil. Then take measurements from different angles: top of the frame, top and bottom of the subject, and so on. You can even put your paper near the issue and try walking back and forth from the vantage point to check their relative sizes.
Step 2:- Start Drawing the Shape of your Object.
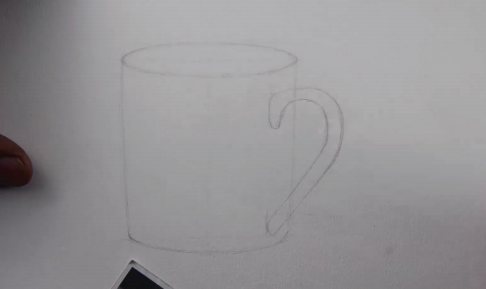
Once you have noted down the basic measurements, you can begin drawing shapes and fundamental forms of the design and keep checking if the proportion is correct or not. You can use a ruler or string for that and erase it with the chamois rag whenever needed. Then you can refine the lines and cover the paper.
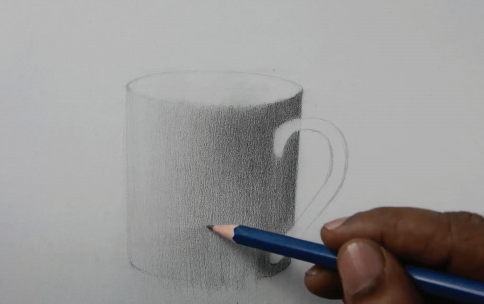
Step 3:- Draw Shadow Edges of your Object.

Now, you can block in the prominent shadows and add some basic tones with lines and some dark halftones. The direction of the light plays a crucial role in the drawing.
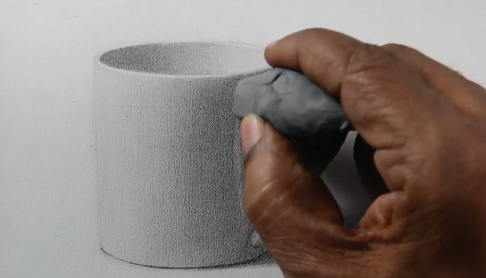
Step 4:- Model the Form.

You can take as much time as you want for this step. It includes modelling the form, meaning creating smooth transitions and even tones in your drawing. You can change your pencil if you and use a kneaded eraser to lighten the tones.
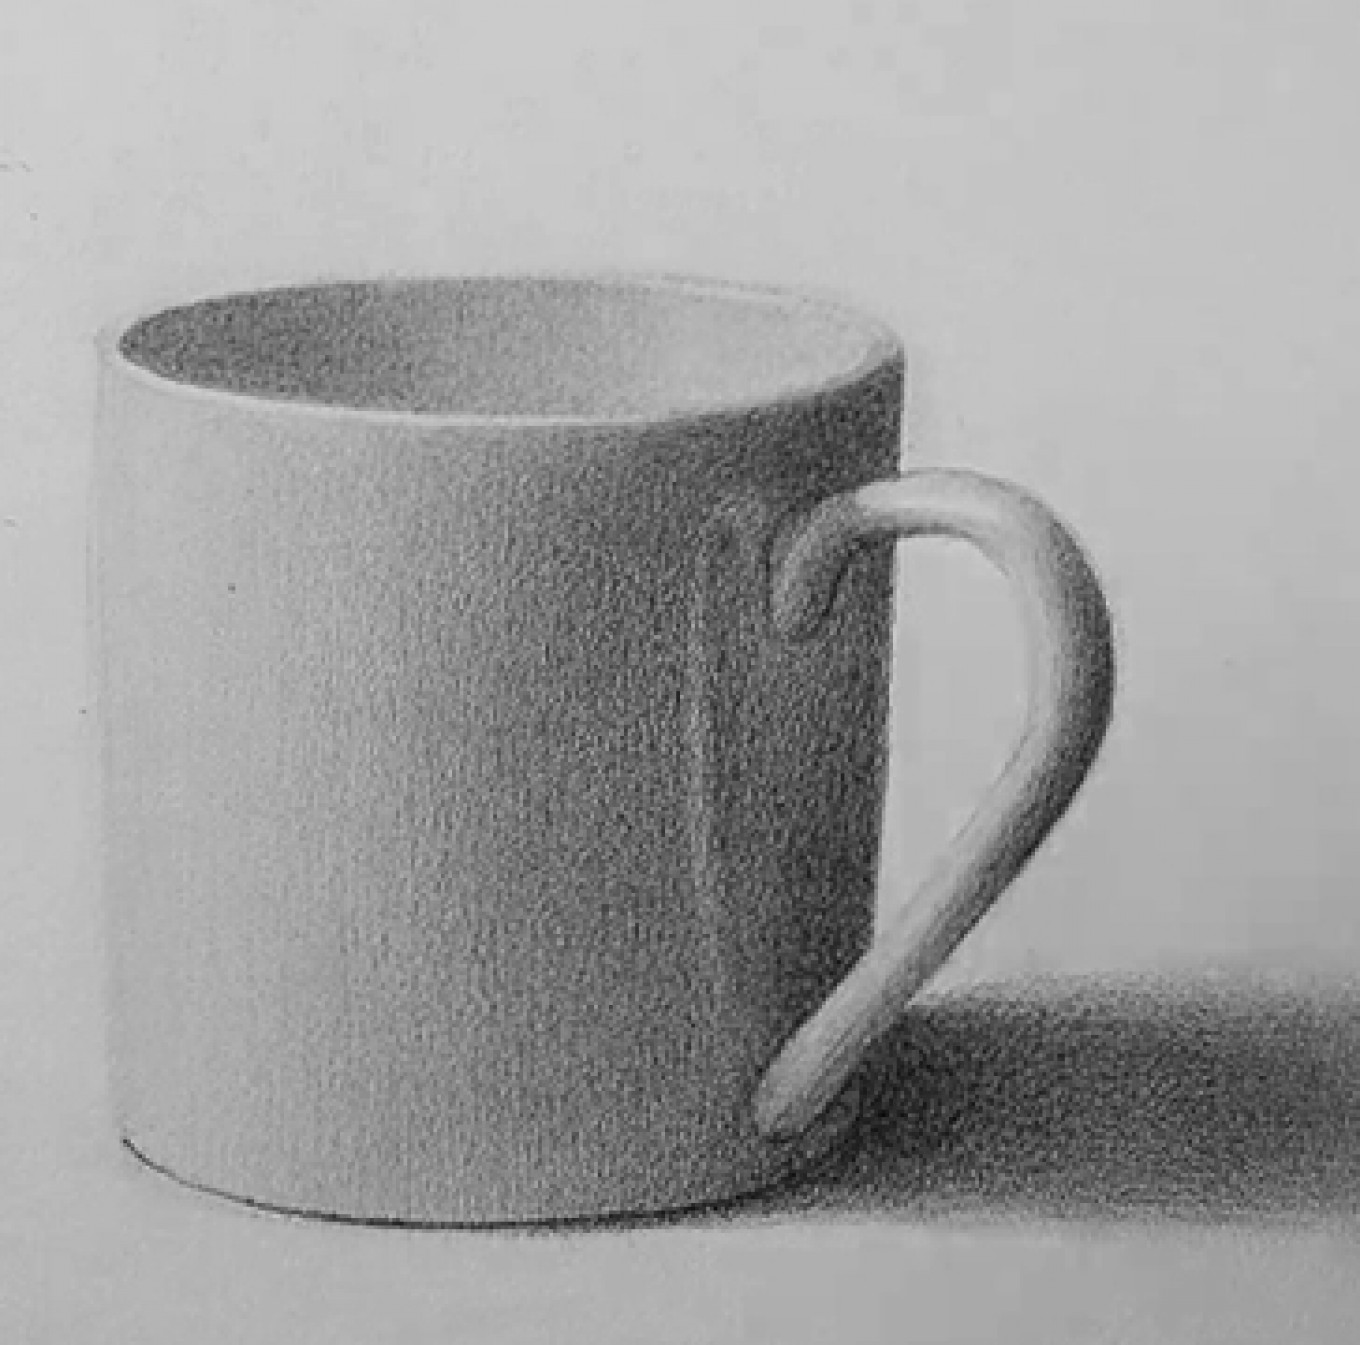
Step 5:- Add Details and Give Finishing Touch to your Still Life Drawing.
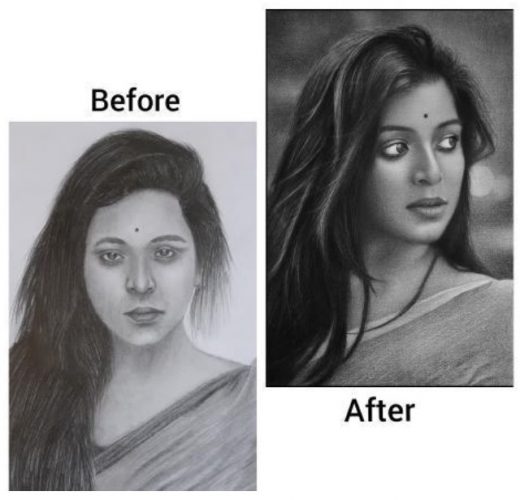
As a general rule in pencil art, you should proceed from simple to complex shapes and details. Now you must refine the tones and add details, shades or texture while keeping in mind the values and the relative styles of the parts in the drawing. It is on you if you want to continue with the same pencil or switch to different pencils. Although, we recommend that you use vine charcoal for light halftones and charcoal pencil for darks. Finally, add some strokes of white chalk for the very brightest areas to finish the drawing.
And your Still Life is Ready.
Here’s a Small Youtube Video For a better understanding
So, now you know, How to Draw a Still Life? If not, we can help you;
When it comes to drawing complex drawings like a portrait or a still life drawing, We provide proper guidance and constant support through our online drawing course. At Pencil Perceptions, we have the best mentors to clear your fundamentals for a strong foundation and help you improve your drawing skills.
Keep Drawing and Keep Learning


